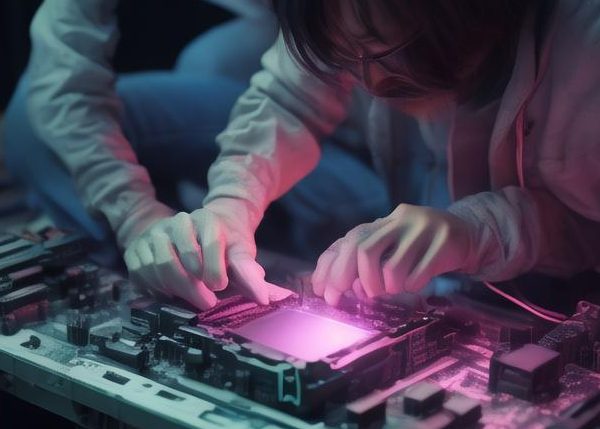
The process of UV curing using glue involves the following steps:

-
Application of UV-Curable Glue:
– First, apply a UV-curable adhesive (commonly known as UV glue) to the surfaces you want to bond.
– UV-curable glues are typically liquid or gel-like at room temperature and become solid when exposed to UV light. -
Alignment and Assembly:
– Position the parts you want to bond together.
– Ensure proper alignment and fit. -
UV Exposure:
– Expose the glued assembly to UV light with a wavelength suitable for curing (e.g., 365nm).
– The UV light activates photoinitiators in the glue, initiating a chemical reaction that cross-links the polymer chains.
– As a result, the glue hardens and forms a strong bond. -
Curing Time:
– The curing time depends on factors such as the type of UV glue, intensity of UV light, and material properties.
– Some glues cure within seconds, while others may take a few minutes. -
Quality Control:
– After curing, check the bond strength and ensure proper adhesion.
– UV-cured bonds are often transparent and have excellent optical properties.
Remember that UV curing is widely used in various industries, including electronics, optics, and manufacturing, due to its rapid curing time and strong bond formation. If you have any specific questions or need further details, feel free to ask!
UV curing adhesive, UV glue, UV light curing, bonding process, adhesive application, light exposure, curing time, safety precautions
